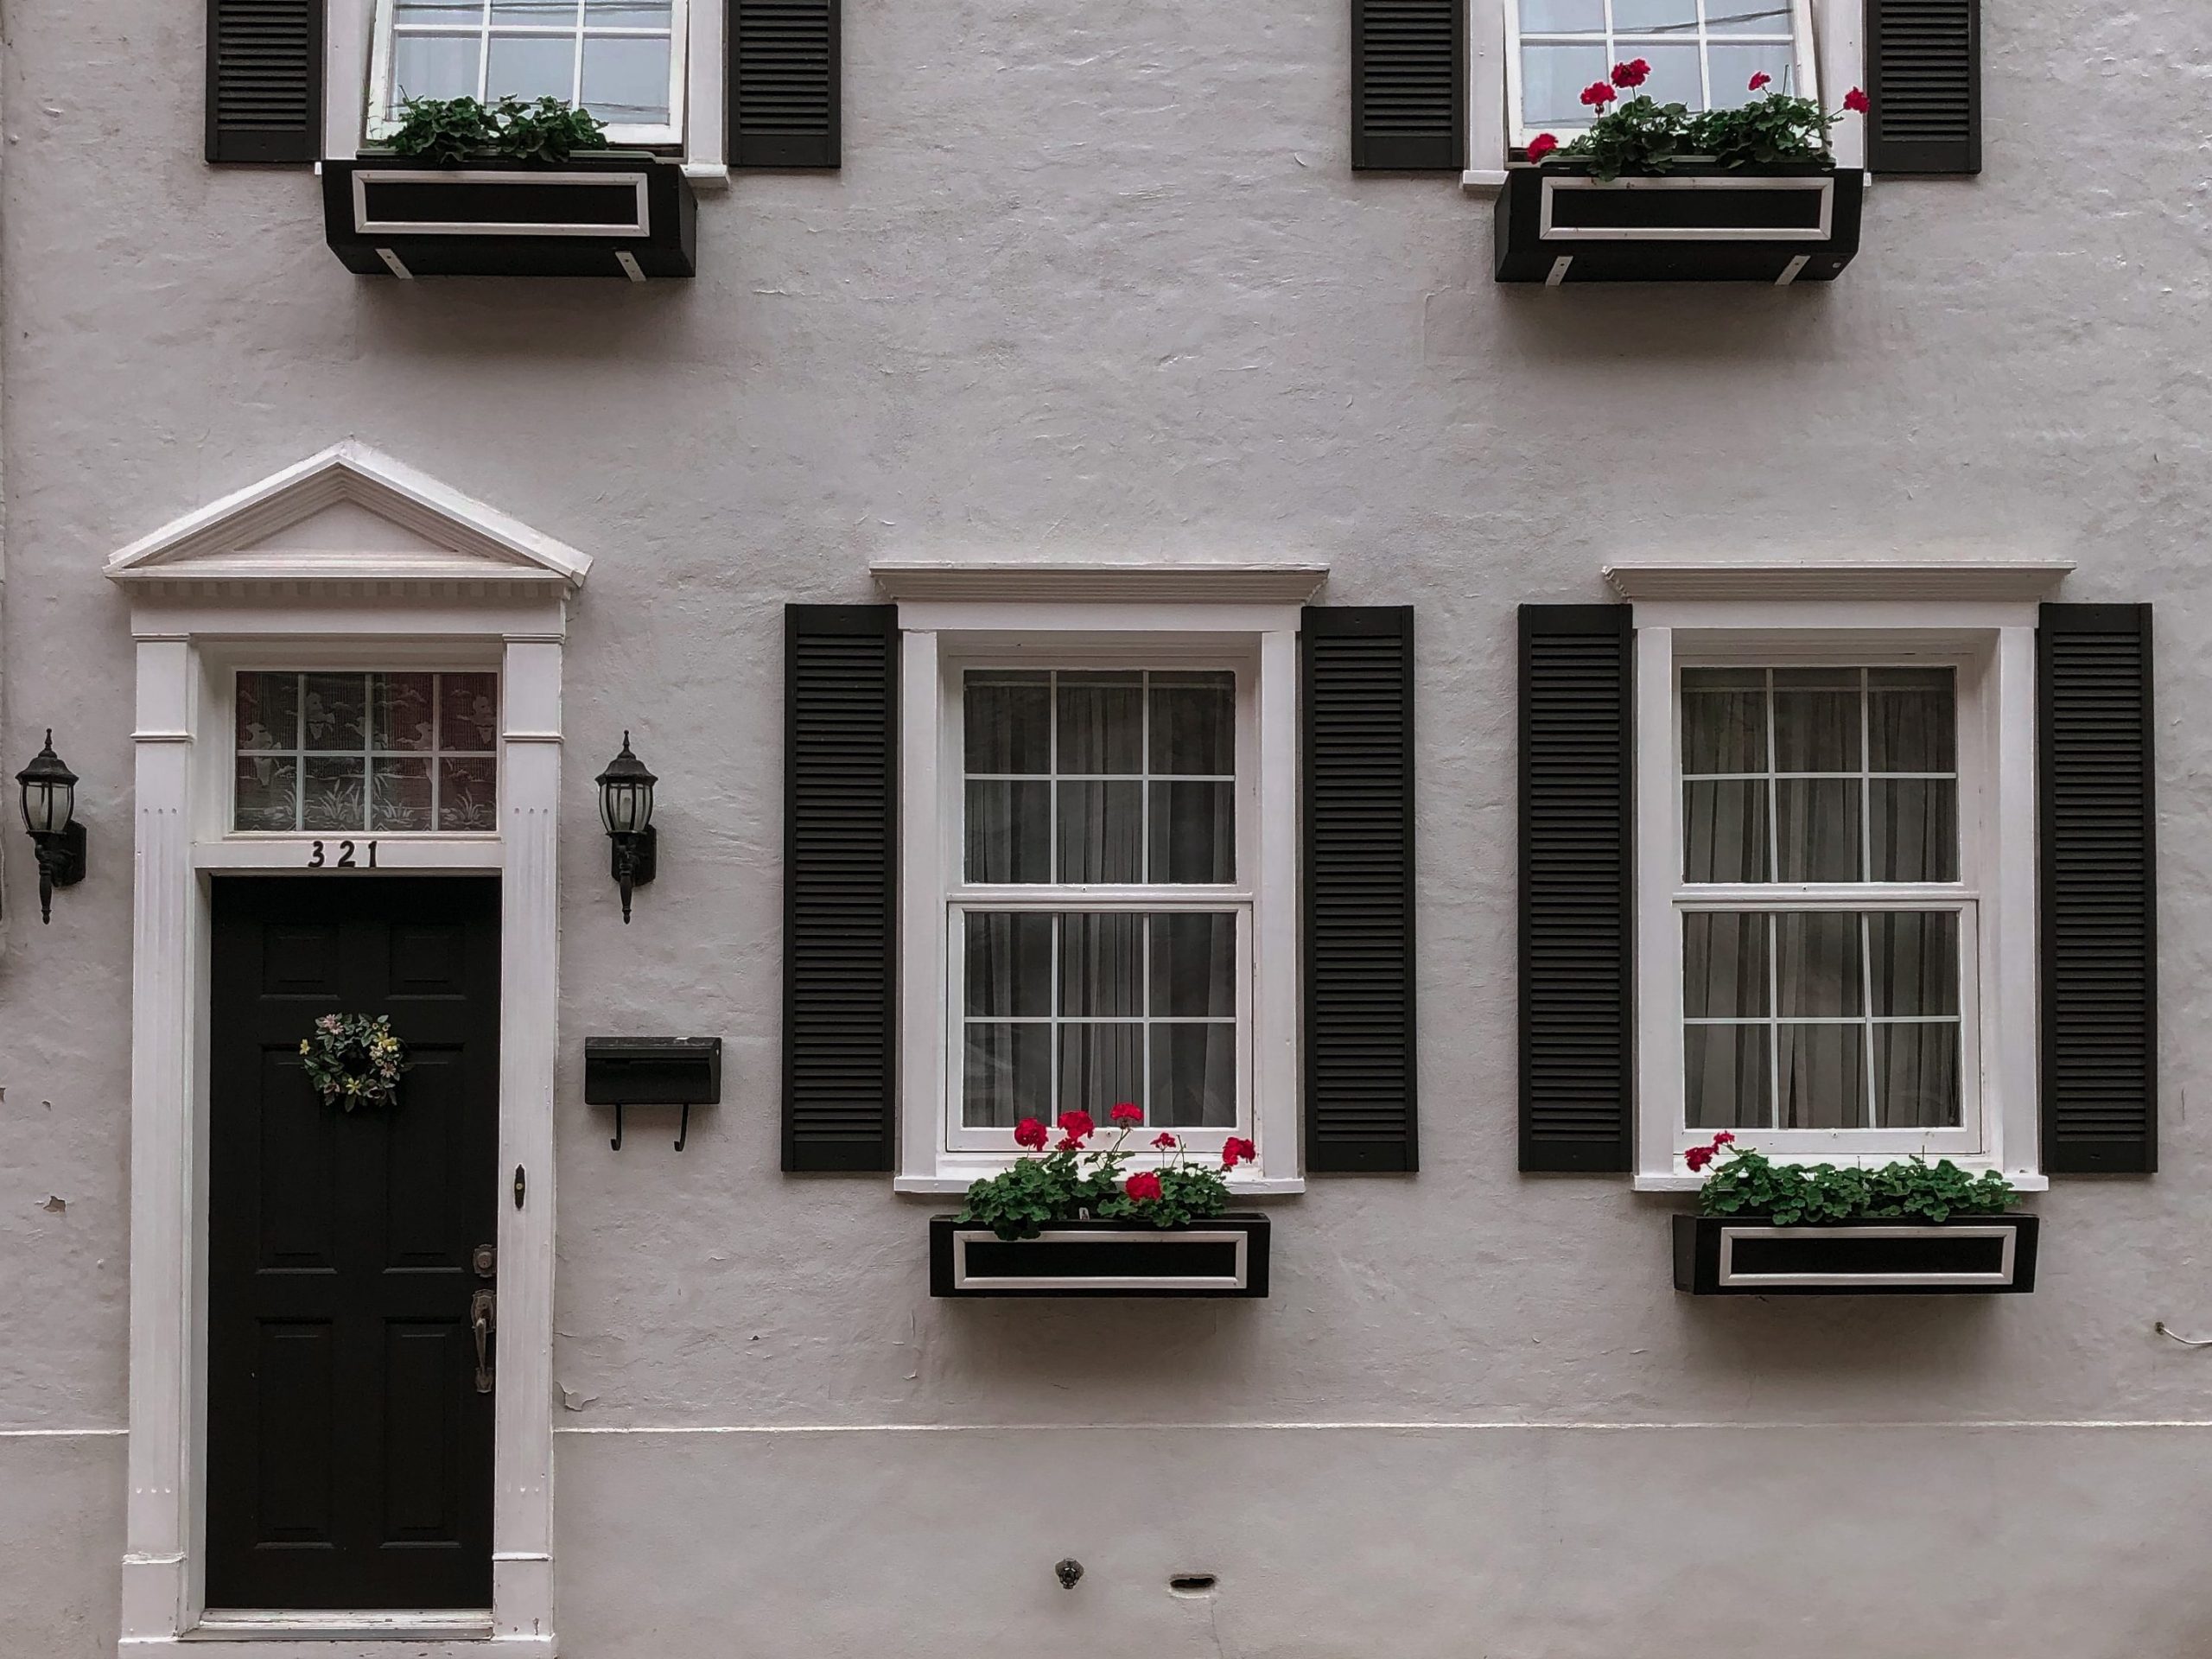
A new window installation for your property can be a good idea if you plan to make some design changes. It’s also a good choice if you want some standard design changes or to get a little more creative with your rooms.
However, it’s necessary to understand the window installation process before hiring someone. Learning the process can also help if you are looking for a DIY window installation and don’t want to overcomplicate it.

What Is the Window Installation Process Like?
The window installation cost varies depending on the material of the window. For example, if you want to install a vinyl window, you’ll pay between $350 and $650. However, other materials, such as wood, can be slightly more expensive, costing between $590 and $870.
It’s necessary for property owners to know how to save their money on installations—for which you need to learn more about the process. We will list the procedure so you can follow it during your next window installation to make it hassle-free.
- Clean the window opening: The contractor will begin the process by cleaning debris from the window area. This cleaning reduces allergens and makes it easier to install flashing tape.
- Install Flashing Tape: The flashing tape prevents moisture from entering the window opening. Its working is similar to the flashing pieces surrounding the window. The contractor will then apply adhesive flashing tape down the length of the side and the sill. This step creates a comprehensive water-resistant barrier.
- Inspect windowsill: Before securing the sill, you need to check its level and avoid bowing. Contractors use shims, if needed, with flashing tape and screws to secure it to the window opening. This way, the window is installed correctly.
- Test the Window before Sealing: The frame needs to have a small gap around it when the window finally settles in. The window installer checks the fit of the window and the opening before securing it with sealant or tape. They cross-check all window sizes to avoid issues later in the window installation process. Once that’s done, they can prepare for the final window installation.
- Install the Window: The installers use beads of caulk around the sill area. They may use it on the top of the frame and the stops as well to secure the window properly. The professionals place the window against the stops after preparing the opening. This little help in attaching the window to the caulk. Finally, they will drill holes and install the window in the desired spot.
- Secure the Window: The installer fastens the window to the opening using screws or nails. However, when finalizing the process, you may need to install more flashing tape outside and around the window. Professionals also employ foam sealants in the cracks in order to stop air leaks. Lastly, they apply latex caulk to the interior trim in this step, ensuring there’s no air passage.
Bottom Line
Window installation may seem like a lot of work, and that’s true. However, you can follow the steps we’ve listed and do it yourself. If not, hire a professional to streamline the window installation process. For more information, visit eagleexteriorsri.com.

